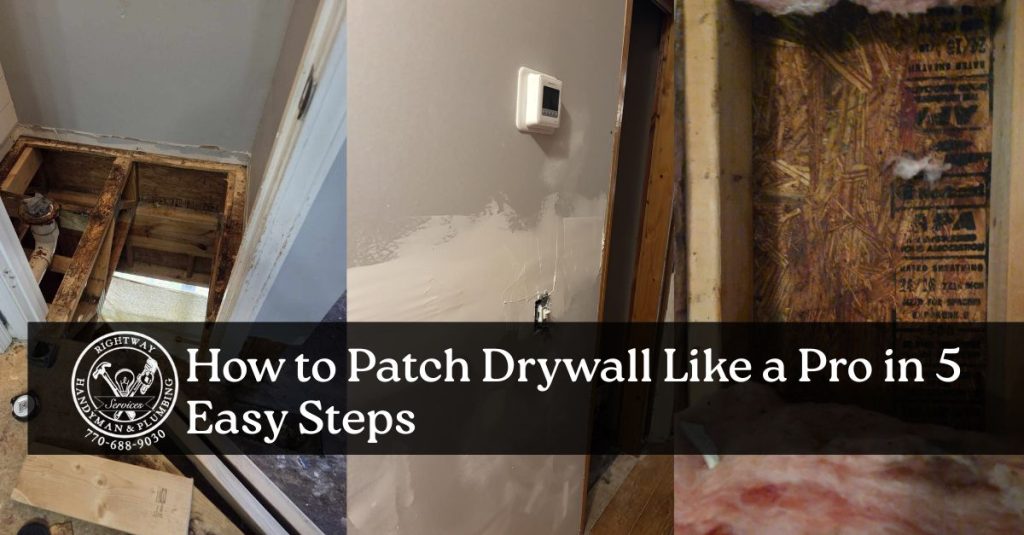
Drywall is one of the most common materials used in homes, but it’s also prone to damage. Whether it’s a small nail hole, a dent from furniture, or a larger crack, damaged drywall can make any room look unfinished. The good news? You don’t need to be a contractor to fix it. With the right tools and a little patience, you can patch drywall like a pro.
Here’s a step-by-step guide to help you get a smooth, seamless finish.
Step 1: Gather Your Tools and Materials
Before you start, make sure you have everything you’ll need:
- Utility knife
- Sandpaper or sanding sponge (medium and fine grit)
- Putty knife
- Drywall patch (for larger holes)
- Joint compound (spackle for small holes)
- Drywall tape (for cracks)
- Paint and primer to finish
Having the right tools ready makes the job quicker and ensures a professional-looking result.
Step 2: Prepare the Damaged Area
Start by cleaning around the hole or crack. Remove any loose drywall, peeling paint, or debris with a utility knife. For small holes, lightly scrape the edges to create a smooth surface. If you’re repairing a larger hole, cut out the damaged section into a clean square or rectangle — this will make it easier to patch.
Step 3: Apply the Patch or Tape
- Small holes (nail/screw holes): Apply spackle directly with a putty knife.
- Cracks: Cover the crack with drywall tape, pressing it firmly so it sticks.
- Large holes: Place a drywall patch or cut a new piece of drywall to fit the opening, then secure it with joint compound and drywall in alpharetta ga tape around the edges.
Step 4: Apply Joint Compound
Using a putty knife, spread joint compound over the patched area. Feather the edges (spread it wider than the patch) so it blends with the surrounding wall. Let it dry completely — usually a few hours.
Once dry, sand lightly with fine-grit sandpaper until smooth. For larger patches, you may need to apply a second coat of joint compound and repeat the sanding process for a flawless finish.
Step 5: Prime and Paint
After the surface is smooth and dust-free, apply primer over the repaired area to seal the patch. Once the primer dries, paint the wall to match the existing color. For the best results, feather the paint beyond the patch area to avoid noticeable touch-ups.
Pro Tips for Best Results
- Always sand between coats for a smooth finish.
- Use a dust mask when sanding to protect your lungs.
- Don’t rush — letting compound dry fully is key to a seamless repair.
Final Thoughts
Patching drywall may seem intimidating, but by following these five easy steps, you can restore your walls and make them look brand new. Whether it’s a small nail hole or a larger repair, the right approach ensures a professional finish without the need for costly services.

